How To Compare Insulated Lunch Containers For Daily Use
A practical step-by-step guide to how to compare insulated lunch containers for daily use, including preparation, instructions, common issues, tips, and next steps.
How To Compare Insulated Lunch Containers For Daily Use
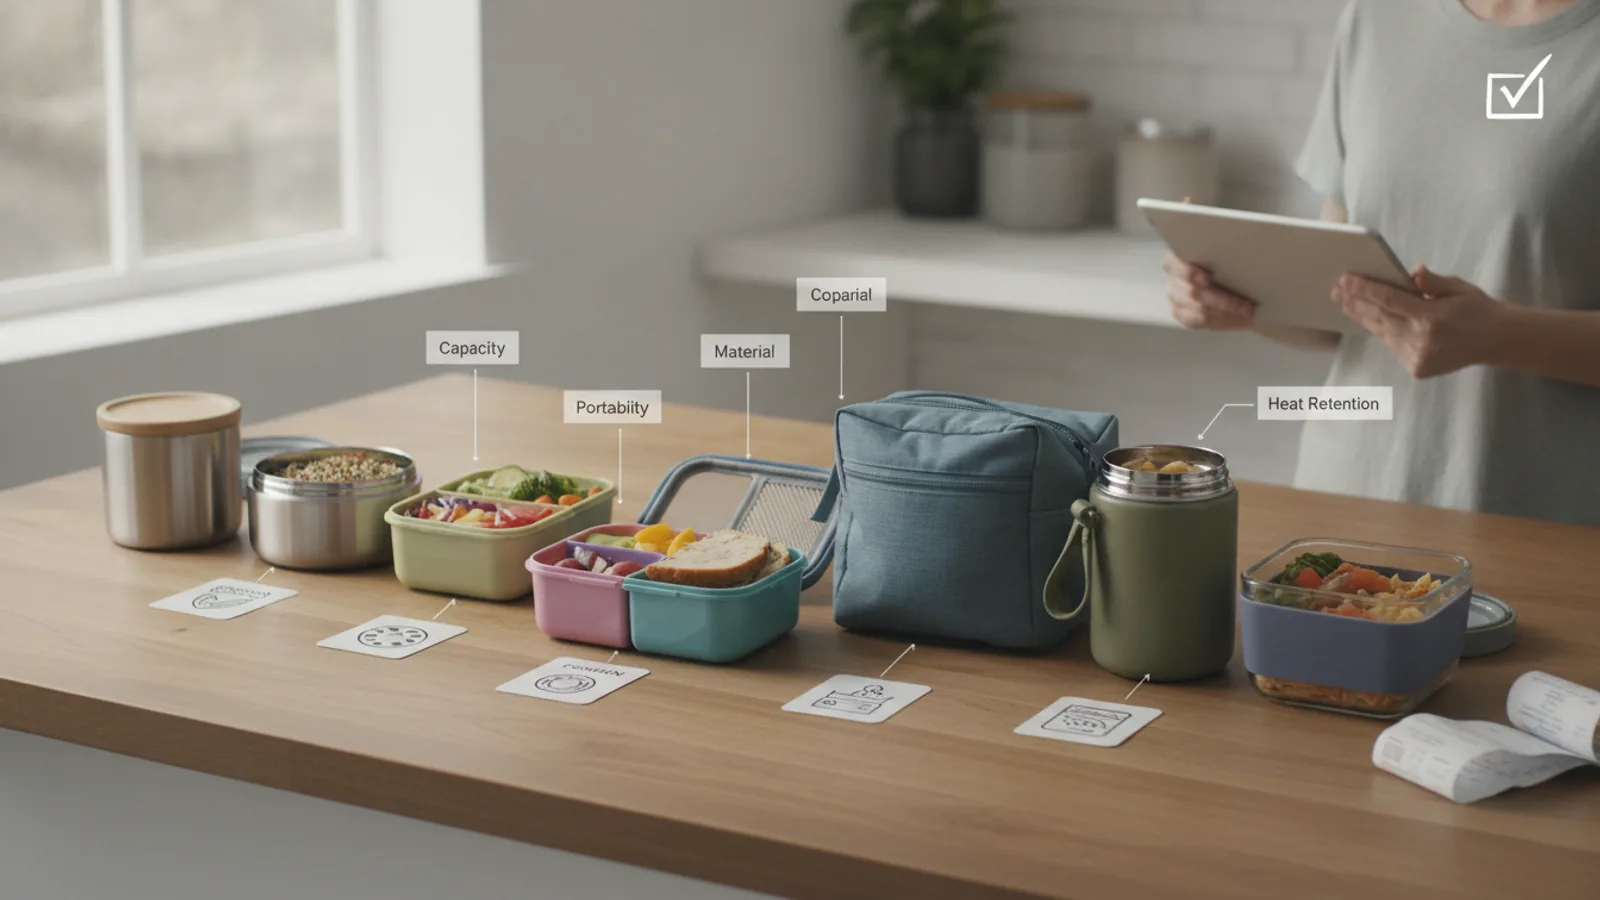
Choosing the right insulated lunch container is key to enjoying fresh, safe meals away from home. This guide provides a systematic approach to comparing options based on your personal needs, focusing on insulation performance, material durability, ease of cleaning, and portability to help you find a reliable container for daily use.
Fast Answer
- Prioritize vacuum-insulated stainless steel for keeping foods hot or cold for more than four hours.
- Choose a container with a wide mouth and a simple lid design for easier filling, eating, and cleaning.
Before You Start
- List the types of meals you plan to pack most often, like soups, salads, or solid leftovers.
- Measure the inside of your lunch bag to ensure a potential container will fit alongside other items.
- Consider your daily timeline: how many hours will pass between packing your lunch and eating it?
- Decide on your cleaning preference: do you require a container that is fully dishwasher-safe?
Step-by-Step Instructions
Assess Your Daily Needs and Meal Types
Begin by creating a detailed profile of your typical lunch habits, as this will dictate the most important features you need. Your primary action is to list the meals you eat for lunch over the course of a week. Are you packing hot soups and stews, or do you prefer cold salads, yogurt, or sandwiches? Consider the consistency and temperature requirements of your food. Next, evaluate your commute and daily schedule. How long does the container need to maintain its temperature before you eat? A four-hour window has different requirements than an eight-hour one. A practical check is to assess if your chosen meals require a completely leak-proof design. To do this, ask yourself if any of your typical meals contain liquids. This matters because a container ideal for a dry sandwich is wholly unsuitable for a brothy soup, directly influencing your need for a high-quality seal versus simple insulation.
Evaluate Insulation Performance and Technology
The core function of an insulated container is its ability to maintain temperature, so evaluating its insulation technology is critical. Your main action is to carefully read the product specifications, looking for keywords that describe its construction, such as 'vacuum-insulated,' 'double-wall,' or 'foam core.' Vacuum insulation generally offers the highest level of performance, creating an airless gap between two walls that significantly slows heat transfer. For your check, physically inspect the container. A quality vacuum-insulated metal product often has a small, circular sealed plug on its exterior bottom, which is a remnant of the manufacturing process where the air was removed. This check matters because it helps you distinguish between high-performance containers designed for long-duration temperature retention and more basic models suitable only for short periods, ensuring you get a product that meets your expectations.
Examine Materials and Overall Durability
The materials used in a lunch container directly affect its durability, weight, and food safety. Your action here is to identify the materials of the body, lid, and any seals. Most high-performance containers use food-grade stainless steel for the body due to its durability and inability to retain flavors or odors. Lids are often a combination of durable, food-safe plastic and silicone for the gaskets. For a practical check, examine the connection points, especially the threads on the lid and container. They should feel smooth and robust, not thin or flimsy. Also, press firmly on the container's walls; they should resist flexing. This check is important because robust construction ensures the container can withstand the minor bumps and drops of daily transport without denting, cracking, or compromising the vacuum seal, which would render the insulation useless. A well-built container will provide reliable service for years.
Consider Ease of Use and Cleaning
A container that is difficult to clean can become a daily frustration and a potential health hazard. To assess this, your primary action is to fully disassemble the lid. Take note of how many individual pieces there are, including gaskets, plugs, and valves. The fewer and simpler the parts, the easier it will be to clean. Next, perform a practical check by determining if you can easily access all interior surfaces with a common kitchen sponge or bottle brush. Pay close attention to the deep corners at the bottom and the threads where the lid screws on. Imagine trying to remove dried-on food from these areas. This check matters because food particles trapped in hard-to-reach crevices can lead to mold growth and persistent, unpleasant odors that can transfer to your food. Choosing a container with a wide mouth and a simple, easy-to-disassemble lid is crucial for maintaining hygiene.
Check for Portability and Leak-Proofing
An insulated container is useless if it leaks or is too cumbersome to carry. Your action is to evaluate its portability and sealing mechanism. First, consider its physical dimensions and shape. Will it fit comfortably in your lunch bag or the side pocket of your backpack? Does it have a handle or a textured grip to make it easy to carry? For the most critical check, test its leak-proof claim yourself. If possible before purchase, tighten the lid firmly and then hold the container upside down. Shake it gently and watch for any signs of weakness in the seal. This check is vital because a failed seal can lead to a disastrous mess, ruining your bag, its contents, and your lunch. A reliable, truly leak-proof design provides peace of mind, especially when transporting liquids like soups or drinks, making it a non-negotiable feature for many daily users.
Review Additional Features and Accessories
Beyond the basics of insulation and materials, many containers offer extra features that can enhance convenience. Your action is to identify and assess these additional components. This could include things like built-in compartments for separating foods, a pressure-release valve for hot contents, or an included foldable utensil that stores in the lid. Once you've identified these features, perform a practical check on their usability. If there is a pressure-release button, is it easy to press? If there are dividers, do they form a seal to prevent sauces from mingling? For an included utensil, check if it feels sturdy enough to handle the food you plan to eat. This check matters because a poorly designed feature can be more of a hindrance than a help. A flimsy spoon that breaks or a divider that doesn't seal properly detracts from the product's value, so it is important to ensure that any bonus features are practical and well-executed.
Quick Reference
| Situation | Action | Why it helps |
|---|---|---|
| Food is not staying hot long enough. | Before adding hot food, fill the container with boiling water, seal it, and let it sit for 5-10 minutes. Pour out the water before adding your meal. | This 'pre-heats' the interior stainless steel, so the container's walls don't draw heat away from your food, maximizing temperature retention. |
| The lid is stuck due to pressure. | If available, use the pressure-release valve. If not, run the lid under hot water for 30-60 seconds to cause the lid material to expand slightly. | Hot food releases steam, which cools and creates a vacuum. Gently warming the lid helps equalize the pressure and makes it easier to twist open without force. |
| The container feels too bulky to carry. | Opt for a taller, more slender container shape instead of a short, wide one. Check for models that are specifically designed to fit in backpack water bottle pockets. | A streamlined profile is easier to pack into a crowded bag and can be more comfortable to grip and carry than a wider, bowl-shaped container of the same volume. |
Common Issues
- Lingering food odors or tastes.: Create a paste of baking soda and water, coat the inside of the container and the lid's seal, let it sit for several hours or overnight, then rinse thoroughly.
- Stains on the interior steel.: Fill the container with a solution of one part distilled white vinegar and four parts hot water. Let it soak for at least 30 minutes before washing with soap and water.
- The container has started leaking.: Carefully remove the silicone gasket from the lid. Clean the gasket and the channel it sits in, then reseat it properly. If it's cracked or stretched, look for a replacement.
Advanced Tips
- To maximize thermal performance, ensure food is as hot or as cold as possible when it goes into the container.
- Use silicone baking cups inside a wide-mouth container to separate wet and dry ingredients without extra bulk.
- Pack dense foods at the bottom and lighter foods on top to prevent crushing and maintain texture.
Final Checklist
- Does the container's capacity match my typical portion sizes?
- Can the lid be fully disassembled for thorough cleaning?
- Is the shape and size practical for my lunch bag and commute?
- Does the seal mechanism feel robust and secure for my food types?
FAQ
How long will my food actually stay hot or cold?
This depends heavily on the container's insulation type, whether you pre-heat or pre-chill it, and the starting temperature of the food. A quality vacuum-insulated container can often maintain a safe temperature for 5-7 hours, but this is an estimate. It's best to test it with your own typical meal.
How do I get rid of persistent stains or smells?
For tough cases, a soak with a mixture of baking soda and vinegar can be effective. Fill the container with hot water, add a tablespoon of each, and let it sit for an hour. Then scrub gently with a soft brush. Always rinse thoroughly before using it again to ensure no residue is left behind.
Is stainless steel better than plastic for insulated containers?
Generally, stainless steel is preferred for the main body because it is more durable, does not absorb odors or flavors, and offers superior insulation when vacuum-sealed. Food-grade plastics are often used for lids due to their flexibility in manufacturing complex shapes, but the primary food-contact surface benefits from being steel.