How To Pack A Reusable Picnic Gift Set
A practical step-by-step guide to how to pack a reusable picnic gift set, including preparation, instructions, common issues, tips, and next steps.
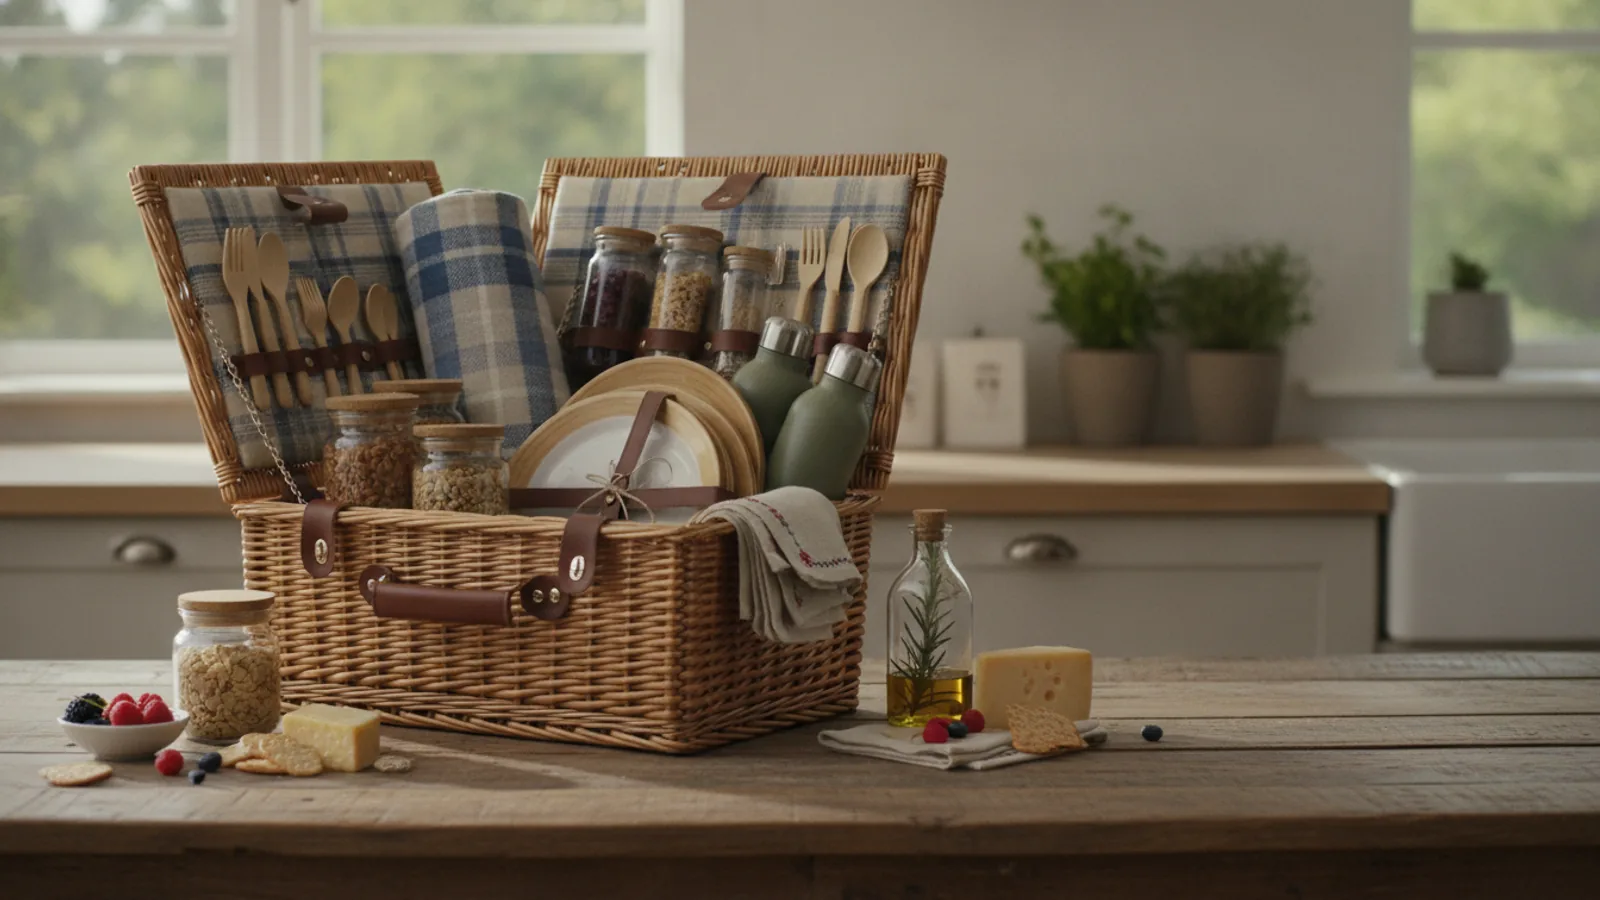
How To Pack A Reusable Picnic Gift Set
This guide provides a comprehensive, step-by-step process for thoughtfully packing a reusable picnic gift set. Learn how to layer items for stability, protect fragile components, and arrange everything to create a beautiful and practical present.
Fast Answer
- Start by placing the heaviest, sturdiest items like the blanket and cutting board at the bottom to create a stable base.
- Use cloth napkins or reusable wraps to cushion fragile items like bottles and glasses, tucking them into gaps to prevent shifting.
Before You Start
- Thoroughly clean all reusable components, including the basket, containers, and utensils.
- Select a theme or color scheme to guide your choice of linens, dishes, and food presentation.
- Gather all necessary packing materials, such as cloth napkins, beeswax wraps, and twine, beforehand.
- If including perishable items, ensure they are fully chilled right before you begin packing the basket.
Step-by-Step Instructions
Establish a Stable Base Layer
Begin by creating a solid foundation within your picnic basket or hamper. The goal is to establish a flat, stable base that can support everything else you add. Your heaviest and most robust items should go in first. Place the folded picnic blanket squarely on the bottom, smoothing it out to cover the entire surface area. On top of the blanket, lay down any flat, hard items like a wooden cutting board or a set of rigid placemats. These items distribute weight evenly and protect softer contents from being crushed from below. The specific action is to layer these foundational pieces methodically. A practical check is to gently press down on this base layer; it should feel firm and not shift significantly from side to side. This check is crucial because a wobbly foundation will cause everything above it to become disorganized and potentially damaged during transport, undermining the entire structure.
Arrange Non-Perishable Food and Drink
With the base established, you can now arrange your non-perishable foods and beverages. This category includes items in sturdy containers like jars of olives, sealed containers of crackers, and any bottles. To prevent breakage and minimize noise, wrap each glass bottle or jar individually in a cloth napkin or a reusable wrap before placing it in the basket. Arrange these items around the perimeter of the basket to create a supportive wall for other contents. Place taller items, like bottles, standing upright along the back or sides. Heavier containers should be positioned centrally to maintain balance. The specific action here is to wrap and strategically place hard containers. A practical check involves carefully shaking the basket a little; you should not hear significant clinking or feel major shifts in weight. This check matters because it ensures fragile glass items are protected and that heavy containers won't topple over and damage more delicate foods.
Pack Tableware and Utensils Securely
Next, focus on packing the tableware, which includes plates, glassware, and cutlery. These items require careful handling to prevent chipping or breaking. If your basket has built-in straps, use them. If not, stack plates with a piece of fabric or a napkin between each one to act as a cushion. Bundle cutlery together by tying it with a ribbon or securing it inside a utensil roll; this keeps forks, knives, and spoons from scratching other items. For glassware, use special padded holders if available, or wrap each glass individually and place it securely between softer items like folded napkins. The action is to cushion and bundle all dining implements. For a practical check, once the cutlery is bundled, turn it upside-down to confirm nothing slides out. This simple test ensures your utensils are truly secure and won't scatter inside the basket, which keeps them clean and organized for the recipient.
Incorporate Chilled and Delicate Foods
The final items to pack inside the main compartment are the temperature-sensitive and delicate foods. Begin by placing a reusable cold pack at the bottom of the space you’ve reserved, or use an insulated pouch. On top of the cold source, add foods that need to remain chilled, such as cheese, charcuterie, or prepared salads in sealed containers. The most delicate items, like soft fruits, pastries, or decorated cupcakes, should be placed on the very top layer, resting on a flat surface if possible, to avoid being squashed. The key action is to layer these sensitive items from most robust to most fragile. A practical check involves touching the outside of any insulated bag or the area around the cold pack; it should feel cool but not be producing condensation that wets other items. This check is vital for food safety and for preserving the intended texture and appearance of your most delicate culinary offerings.
Add Linens and Final Aesthetic Touches
Now it's time to add the finishing touches that elevate the gift from practical to thoughtful. This includes textiles like cloth napkins and any small, decorative elements. Neatly fold or roll your cloth napkins and tuck them into any remaining gaps between other items. This not only looks tidy but also serves the practical purpose of providing extra padding and preventing the contents from shifting during transport. You can also use this opportunity to add a small, non-food item, like a book of poetry or a deck of cards, nestled securely among the linens. The primary action is to use soft goods to fill empty spaces purposefully. For a quick and practical check, gently press down on the top layer of the basket's contents. It should feel snug, with no significant voids or loose items. This matters because a tightly packed basket is a securely packed basket, ensuring the beautiful arrangement you created remains intact until it is opened.
Secure the Basket and Add External Elements
The final step is to secure the entire package and add any external decorations. Before closing the lid, do one last visual scan to ensure nothing is protruding that might get crushed. Close the basket and fasten any latches, buckles, or ties. Make sure the closure is secure and won't accidentally pop open. If you are including a gift tag, a small bouquet of dried flowers, or another external element, attach it firmly but elegantly. Use a sturdy ribbon or twine to tie it to the handle or a buckle, ensuring it won't fall off. The main action is to close, secure, and adorn the exterior of the basket. A crucial practical check is to lift the fully packed basket by its handle and carry it a few feet. Pay attention to its balance and listen for any shifting sounds. This final test confirms that the gift is transport-ready and that your careful packing will hold up until it reaches its recipient.
Quick Reference
| Situation | Action | Why it helps |
|---|---|---|
| Items are rattling inside the basket. | Reopen the basket and use additional cloth napkins, beeswax wraps, or even a small, soft tea towel to fill in any empty gaps between hard items like jars and plates. | Filling empty space prevents items from shifting and colliding during transport, which is the primary cause of rattling noises, chipping, and breakage. |
| The gift includes a bottle of sparkling juice. | Wrap the bottle securely in a towel and place it in the center of the basket, cushioned on all sides. Inform the recipient that the contents may be under pressure. | Carbonated beverages can become agitated during movement. Proper cushioning prevents breakage, and a friendly warning allows the recipient to open it carefully. |
| The gift won't be opened immediately. | Pack perishable items in a separate, clearly labeled insulated tote. Advise the recipient to refrigerate that portion of the gift as soon as they receive it. | This separates temperature-sensitive foods, ensuring they remain safe to eat while allowing the non-perishable portion of the gift to be opened at their leisure. |
Common Issues
- The basket is too heavy or unbalanced.: Repack by distributing the heaviest items, like bottles and dense food containers, evenly across the bottom center of the basket instead of concentrating them on one side.
- Condensation from cold items makes things damp.: Place all chilled items and the ice pack inside a dedicated waterproof bag or a high-quality insulated pouch before adding them to the basket to contain any moisture.
- Fragile items like glasses get broken.: Invest in padded glassware sleeves or wrap each glass in multiple layers of thick cloth. Ensure they are packed snugly so they cannot move or knock against other hard objects.
Advanced Tips
- Include a small, laminated card with a suggested menu, pairing notes for the foods you included, and a personal message.
- Instead of plastic wrap, use reusable beeswax wraps for cheeses and sandwiches. They are eco-friendly and add a rustic, artisanal touch.
- Pack a small, designated 'clean-up' kit with a small bag for trash, a wet wipe, and hand sanitizer for a truly complete experience.
Final Checklist
- All items are clean and completely ready for immediate use.
- The basket lid closes easily without force or straining the latches.
- No fragile items are in direct contact with other hard surfaces.
- Any perishable foods are fresh and properly stored for food safety.
FAQ
What are the best types of containers to use?
The best containers are reusable, lightweight, and have secure, leak-proof lids. Look for options made from durable materials like bamboo fiber, stainless steel, or high-quality BPA-free plastic. Using containers of various shapes and sizes can also help you fit everything into the basket more efficiently.
How can I pack the gift so it looks impressive when it's opened?
Focus on layering and color. Place a beautiful, folded napkin or tea towel on the very top. Use coordinating ribbons or twine to bundle cutlery or seal containers. Arranging items so that a variety of colors and textures are visible immediately upon opening creates a strong visual impact and makes the gift feel more special.
Should I include fresh food, or stick to non-perishables?
This depends on when the gift will be given and used. Non-perishables like crackers, nuts, jams, and bottled drinks are safest. If you include fresh items like cheese, fruit, or salads, ensure the recipient knows and can refrigerate them promptly. A mix of both often works best, providing immediate treats and shelf-stable pantry items.