How To Choose A Travel Toiletry Bag That Is Easy To Clean
A practical step-by-step guide to how to choose a travel toiletry bag that is easy to clean, including preparation, instructions, common issues, tips, and next steps.
How To Choose A Travel Toiletry Bag That Is Easy To Clean
Choosing a travel toiletry bag that is easy to clean is essential for hygiene and convenience. This guide focuses on identifying key features like non-porous materials, simple interior designs, and durable hardware that simplify maintenance. By prioritizing cleanability during your selection process, you can prevent stains, odors, and bacteria buildup, ensuring your bag remains a reliable travel companion for years to come.
Fast Answer
- Select a bag made from non-porous materials like silicone, TPU, or coated nylon. These materials prevent spills from soaking in, allowing you to simply wipe them clean.
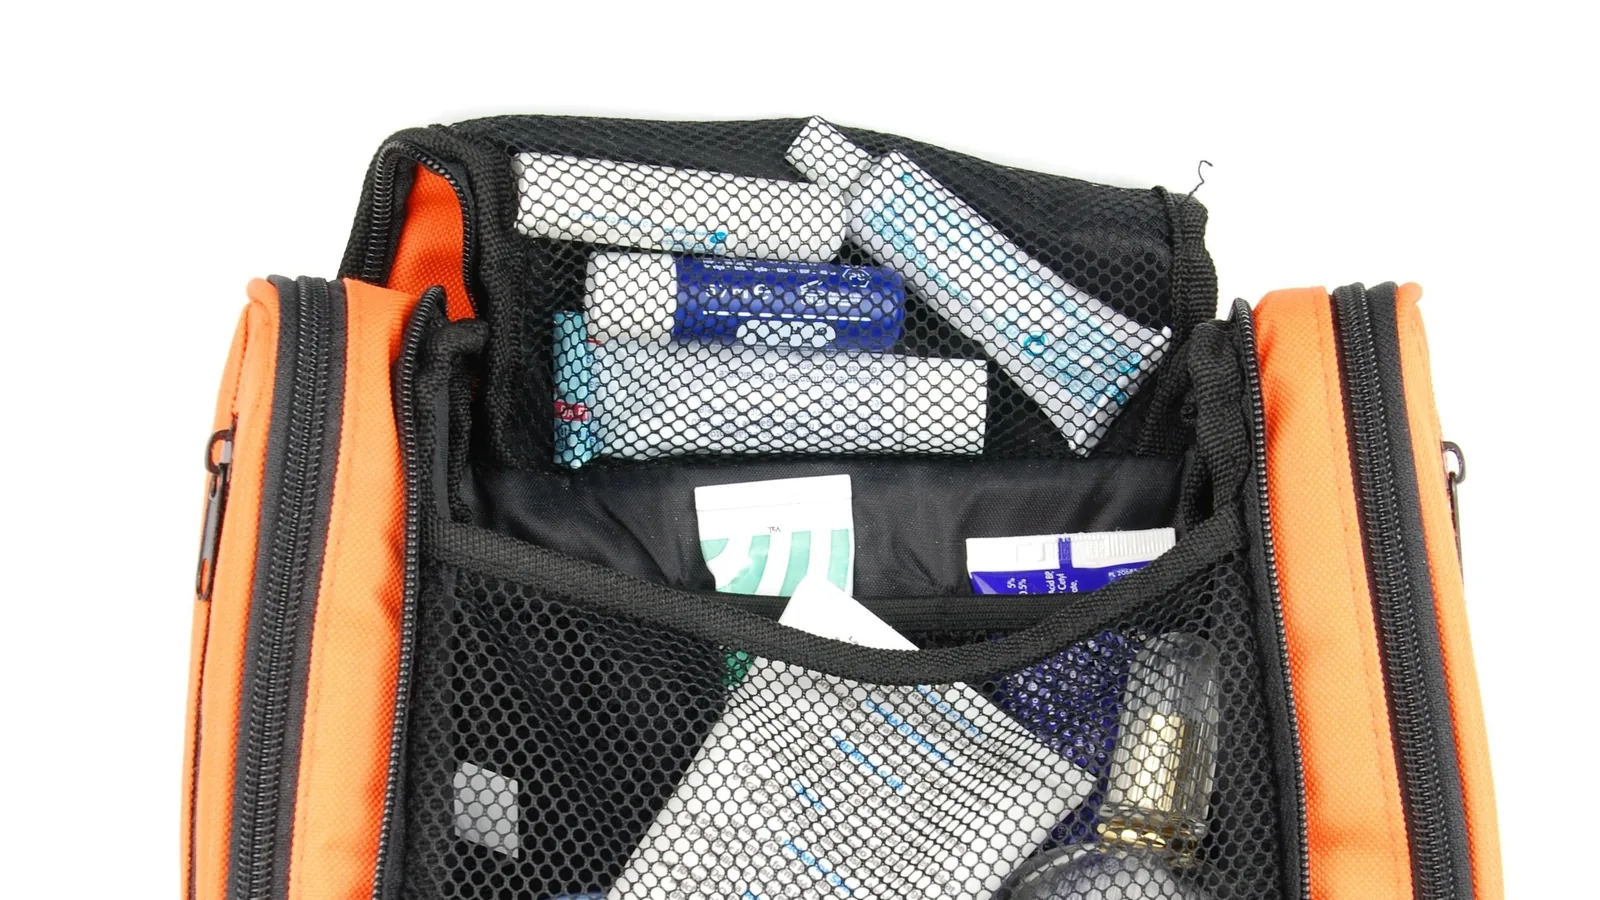
- Look for a bag with a simple, open interior design, a light-colored waterproof lining, and rounded corners. This structure eliminates hard-to-reach spots where grime accumulates.
Before You Start
- Take inventory of your essential toiletries to determine the size and number of compartments you actually need.
- Measure the space inside your primary suitcase or travel bag to ensure your new toiletry bag will fit comfortably.
- Consider the types of liquids you carry most often; leak-prone items may necessitate a bag with a fully waterproof lining.
- Define your cleaning preference: are you looking for a bag that is machine washable or one that is simply easy to wipe down by hand?
Step-by-Step Instructions
Prioritize Non-Porous Materials
Your first action is to focus on the bag's primary material. The ideal choice is non-porous, meaning it resists absorbing liquids. Materials like silicone, TPU (thermoplastic polyurethane), and high-denier nylon or polyester with a water-resistant coating are excellent options. When examining a bag, start by reading the product label or description to identify the material. Then, physically inspect the surface. Run your hand over it; it should feel smooth and slick rather than fibrous or soft like untreated canvas or cotton. A practical check, if you're able to, is to see how water behaves on the surface. A drop of water should bead up and roll off without soaking in. This check is crucial because a non-porous material prevents spills from shampoo, lotion, or other toiletries from seeping into the fabric. This not only stops permanent stains but also makes cleanup as simple as wiping with a damp cloth, preventing lingering odors and mildew growth from trapped moisture.
Scrutinize the Interior Lining
The inside of the bag is where spills happen, so its cleanability is even more important than the exterior's. Your primary action is to carefully evaluate the interior lining. A light-colored lining is preferable because it makes dirt, makeup smudges, and small items easier to see. Begin by turning the bag inside out if possible, or at least opening it as wide as you can to get a clear view. First, assess the color. Second, inspect the material; it should be waterproof or highly water-resistant, similar to the ideal exterior materials. Finally, examine the seams. A practical check is to run your finger along all interior seams, feeling for any gaps or loose threads where liquid could penetrate. Look for heat-sealed or taped seams, which offer superior protection against leaks. This seam inspection matters because a compromised lining will trap spilled liquids between the liner and the outer shell, making it impossible to clean thoroughly and leading to hidden mold and persistent odors.
Evaluate Structural Simplicity
A bag's internal design significantly impacts how easy it is to clean. Complex bags with numerous tiny pockets, tight corners, and excessive dividers create traps for grime and spills. Your main action here is to assess the bag's internal architecture for simplicity and accessibility. When you have a bag in hand, open every single compartment and pocket. Start with the main storage area and then move to the smaller pockets. Look for rounded corners instead of sharp, 90-degree angles where residue can accumulate. The practical check is to try and run your finger or a cloth into every nook and cranny. If you can't easily reach a corner with your finger, you won't be able to clean it effectively. This matters because these inaccessible spots are prime breeding grounds for bacteria and mold, especially in a damp bathroom environment. A simpler, more open design allows for quick wiping and ensures the entire interior can air dry properly.
Inspect Zippers and Hardware
Zippers and other hardware can be overlooked, but they are common points of failure and cleaning difficulty. Your action is to closely inspect all closures and metal components. Start by examining the zipper material itself. Opt for plastic coil or molded plastic zippers over metal ones, as they won't rust or corrode from moisture or product spills. Next, test the zipper's operation to ensure it runs smoothly without catching. Finally, check the fabric tape that the zipper teeth are attached to; a synthetic, non-absorbent material is best. A useful check is to look for water-resistant zippers, which often have a rubbery coating over the teeth, providing an extra barrier against leaks. This is important because the fabric tape on standard zippers can easily absorb spills, leading to permanent stains that are difficult to remove. Rusted metal hardware can also stain the bag's fabric and eventually break.
Consider Removable Liners or Inserts
For the ultimate in easy cleaning, look for bags with modular components. The key action is to search for features like a removable, machine-washable liner or separate, self-contained pouches. When shopping, check the product description for terms like "removable lining," "drop-in pouch," or "modular inserts." If you're examining the bag in person, the process is simple: first, identify the liner or insert. Second, try to detach it from the main bag. A practical check is to assess how easily it comes out and, just as importantly, how securely it fits back into place. It shouldn't be a struggle to remove or reinsert. The reason this feature is so valuable is that it isolates the mess. A major spill can be dealt with by simply removing the liner and washing it thoroughly—sometimes even in a washing machine—without having to wash the entire bag structure, which might be more delicate or slower to dry.
Test for Full Access and Air-Drying
A bag might be easy to wipe down, but if it can't dry properly, you're trading one problem for another. Your action is to test how well the bag opens to allow for cleaning and air circulation. Once you have a prospective bag, open its main compartment completely. See if the design allows it to lay flat or stay open on its own, exposing the entire interior. This is the first step. Next, assess the openings of any smaller pockets to ensure they are also accessible. A great practical check is to determine if you can see the entire interior base of the bag at a glance without having to hold it open with both hands. This is vital because after you wipe the bag clean, it needs to air dry completely to prevent the growth of mildew and odor-causing bacteria. A bag that clamshells open or has a wide "doctor's bag" style opening is far superior to one with a narrow, restrictive top zipper.
Quick Reference
| Situation | Action | Why it helps |
|---|---|---|
| A bottle of shampoo has leaked. | Empty the bag, rinse the interior with lukewarm water if waterproof, and wipe thoroughly with a mild soap solution. Prop it open to air dry completely. | Immediate action prevents the sticky residue from setting into seams and corners, and complete drying is essential to stop mold from growing in the damp environment. |
| There is makeup or powder residue. | First, use a dry cloth or a small, soft brush to remove all loose powder. Then, use a makeup wipe or a cloth with a bit of micellar water to gently lift the stain. | Wiping immediately with a wet cloth can smear the powder and turn it into a paste, making the stain worse. Removing the dry particles first is a more effective method. |
| The bag needs a routine cleaning. | Once a month, empty the bag, shake out any debris, and wipe down the entire interior and exterior with a disinfectant wipe or a damp cloth with gentle soap. | Regular maintenance prevents the gradual buildup of germs, grime, and small residues that can lead to permanent stains or unpleasant odors over time. |
Common Issues
- A persistent musty odor remains.: After cleaning, place an open container of baking soda or a few activated charcoal packets inside and zip it closed for 24 hours. This will absorb any lingering odor molecules.
- The zipper is stuck or sticky.: Do not force it. Rub the tip of a graphite pencil or a wax-based lip balm along the zipper teeth to lubricate them, then gently try to move the slider back and forth.
- A stain has set into the lining.: Create a paste of baking soda and water. Apply it to the stain, let it sit for 30 minutes, then gently scrub with a soft-bristled brush before wiping clean with a damp cloth.
Advanced Tips
- Proactively place all liquid containers in a separate, sealed plastic or silicone pouch within the main toiletry bag to double-contain any potential leaks.
- For bags that are not machine washable, use a handheld steam cleaner on the interior to sanitize and loosen stubborn grime without soaking the entire bag.
- After cleaning and drying, tuck a scented dryer sheet inside the bag before storing it to keep it smelling fresh between trips.
Final Checklist
- Confirm the bag is made of a non-porous, wipeable material like silicone or coated nylon.
- Check that the interior lining is waterproof, light-colored, and has sealed or reinforced seams.
- Ensure all corners and pockets are easy to access for thorough cleaning and drying.
- Verify that the zippers are plastic or rustproof and that the hardware is minimal and durable.
FAQ
Can I put my toiletry bag in the washing machine?
Check the manufacturer's care label first. Many bags, especially those made of durable nylon or polyester with no rigid structure, can be machine washed on a gentle cycle. Place the bag in a mesh laundry bag for protection. Always air dry; never put it in the dryer, as high heat can damage the waterproof lining and hardware.
How do I remove small spots of mold or mildew?
For minor spots, create a solution of equal parts white vinegar and water. Apply it to the area with a cloth or spray bottle, let it sit for an hour, then scrub gently with a soft brush. Rinse or wipe the area clean and ensure the bag dries completely in a sunny, well-ventilated spot, as sunlight can help inhibit mold growth.
Does the color of the bag matter for cleanliness?
Yes, in a practical sense. A lighter-colored interior lining is crucial for easily spotting dirt, spills, and small items like contact lens cases. For the exterior, darker colors or subtle patterns are better at camouflaging the inevitable scuffs and stains that come with travel, helping the bag look cleaner for longer.